Contact & Community
📍 Metro Manila, Philippines
🌐 robimotoph.com
✉️ hello@robimotoph.com
📱 +63 917 517 0594
📍 Metro Manila, Philippines
🌐 robimotoph.com
✉️ hello@robimotoph.com
📱 +63 917 517 0594
Motorcycle ownership can feel overwhelming, but DIY maintenance 101 makes it easy. These five essential tasks—covering tires, oil, chain, brakes, and battery—equip new riders to keep their bikes safe and reliable at home.
DIY Maintenance 101 is the best starting point for new motorcycle owners who want to save money and avoid frequent shop visits. Many riders, especially commuters, feel anxious about their bike’s condition but don’t always know where to begin. Neglecting simple upkeep can lead to costly breakdowns, unsafe rides, and unnecessary stress.
When I first started riding, I made the mistake of ignoring small issues until they became major problems. What I eventually learned is that motorcycle care doesn’t have to be complicated. With a little guidance, even a beginner can check and fix the most important parts of their ride.
This article will walk you through five essential tasks every rider should know: checking tire pressure, monitoring oil levels, cleaning and lubing the chain, inspecting brake pads, and checking the battery. Mastering these steps ensures your motorcycle stays reliable for daily commutes or long weekend rides.
DIY Maintenance 101 matters because it empowers riders to understand their machine. Many beginners depend too much on shops, not realizing that simple preventive care can extend the life of their motorcycle.
Based on reports and my own experience, small maintenance habits save thousands of pesos over time. For example, keeping tires properly inflated improves fuel efficiency and handling. Regular chain cleaning prevents premature wear. A simple brake inspection can literally save your life.
At RobiMotoPH, I’ve seen how riders often overlook the basics. Some even wait for breakdowns before checking their bike. That mindset is risky and expensive. By practicing these DIY tasks at home, you avoid downtime and learn how to trust your motorcycle.
For deeper learning, you can also check our Maintenance & DIY Tips section where I share real experiences and tutorials.
Tire pressure is one of the easiest yet most critical DIY Maintenance 101 tasks. Underinflated tires make handling unstable and wear out faster, while overinflated tires reduce grip and comfort.
How to check tire pressure:
Make this a weekly habit, especially if you commute daily. Tires are your only contact with the road, so keeping them in proper condition ensures safety and fuel efficiency.
Motor oil keeps your engine running smoothly. In DIY Maintenance 101, checking and changing oil is a fundamental skill. Dirty or low oil can cause serious engine damage.
How to check oil level:
How to do an oil change:
I’ve written about related ownership issues like common NMAX problems and how Filipino riders solve them which shows why timely oil maintenance matters.
The chain transfers power from the engine to the wheel, and DIY Maintenance 101 makes it easy to keep it in top shape. A dirty or dry chain wears out sprockets quickly and can even snap while riding.
How to lube a chain safely:
Do this every 500–700 km, or more often if riding in the rain. Regular chain care improves performance and prevents costly replacements.
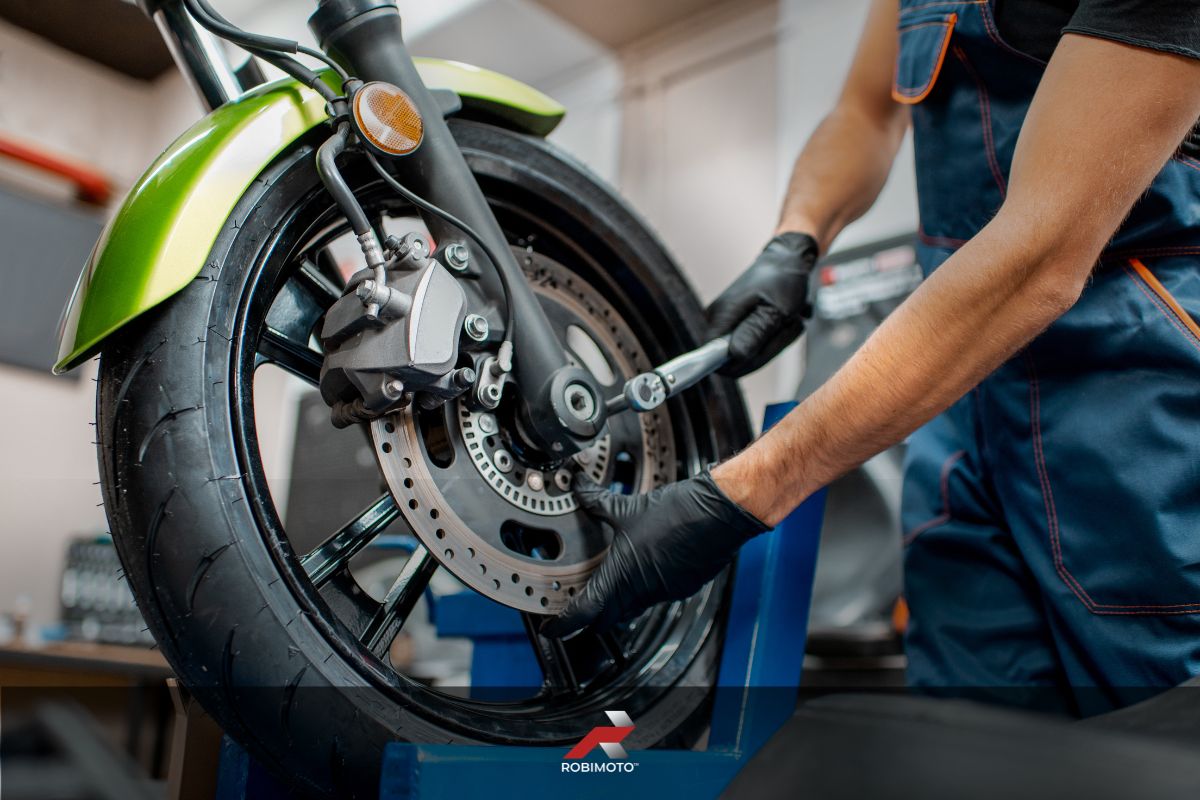
Brakes are your lifeline. DIY Maintenance 101 emphasizes checking brake pads regularly since worn-out pads reduce stopping power and increase accident risks.
How to inspect brake pads:
Brake maintenance is straightforward. Pads are affordable, and many aftermarket options (Affiliate Placeholder) provide good performance. Never delay brake inspections; they can make the difference between a safe stop and an accident.
Motorcycle batteries often fail without warning, leaving riders stranded. DIY Maintenance 101 teaches beginners how to check battery condition to prevent sudden issues.
How to maintain a motorcycle battery:
With these habits, you’ll avoid the frustration of push-starting your bike on a busy street.
To make DIY Maintenance 101 easier, I personally recommend tools and products that are beginner-friendly and affordable:
70mai Portable Air Pump is a must-have for checking and adjusting tire pressure at home or on the road. Its compact size fits easily under most motorcycle seats, yet it delivers powerful performance. Just set your desired PSI and let it work automatically, cutting off once the correct pressure is reached. For daily commuters, this tool prevents underinflation, reduces fuel consumption, and extends tire life.
For engine protection, SK ZIC M9 4T 10W-40 is a fully synthetic oil made for 4-stroke motorcycles. It provides smooth shifting, maximum power transfer, and excellent thermal stability—perfect for city riders and long-distance commuters alike. Using a high-quality oil like this keeps your engine, clutch, and gearbox running smoothly, while extending the life of critical components.
A clean and well-lubed chain means better performance and longer life. The Koby Chain Maintenance Kit includes everything you need to dissolve dirt, remove rust stains, and apply super lubrication. It’s designed to extend your chain’s lifespan while making your rides smoother and more efficient. With a three-year shelf life, it’s a practical item to keep in your garage for routine care.
Brake safety should never be compromised. SILVESTRE Brake Pads are OEM-spec organic pads that deliver strong stopping power, stable friction, and quiet operation. They also extend rotor and pad life while producing minimal dust. Upgrading to a reliable set of brake pads ensures confidence whether you’re riding in city traffic or cruising on provincial roads.
Motorcycle batteries often weaken if not regularly charged, especially for riders who don’t use their bikes daily. The Ingco 9/4A Battery Charger supports 12V batteries commonly used in motorcycles, making it compatible and safe. With its robust design and multiple safety features, it prevents premature battery failure and saves you from the frustration of a dead bike in the morning.
By keeping these tools and parts on hand, you can confidently perform DIY maintenance tasks at home and avoid unnecessary trips to the shop. For riders who want more reliable options, check out Berting Cycle Parts: Legit nga ba Talaga Para sa Riders? where many local riders get trusted motorcycle products.
DIY Maintenance 101 is not just about saving money. It’s about building confidence, understanding your motorcycle, and taking responsibility for your own safety. These five tasks—checking tires, oil, chain, brakes, and battery—are easy to learn and make a huge difference in reliability.
Every rider starts somewhere. If you commit to these simple steps, your motorcycle will reward you with smoother rides and fewer breakdowns.
Before your next trip, check out the products I personally use and recommend (Affiliate Placeholder). Start small, stay consistent, and you’ll soon feel more connected to your motorcycle than ever before.
DIY Maintenance 101 is the first step toward becoming a smarter and more responsible rider.
DISCLAIMER: RobiMotoPH is a Shopee Affiliate. Some of the links in this article are affiliate links, which means we may earn a small commission if you purchase through them; at no extra cost to you. This helps us keep creating helpful motorcycle content for the community. Ride safe, mga Ka-Robi!


