Skip to content
Contact & Community
📍 Metro Manila, Philippines
🌐 robimotoph.com
✉️ hello@robimotoph.com
📱 +63 917 517 0594
📍 Metro Manila, Philippines
🌐 robimotoph.com
✉️ hello@robimotoph.com
📱 +63 917 517 0594

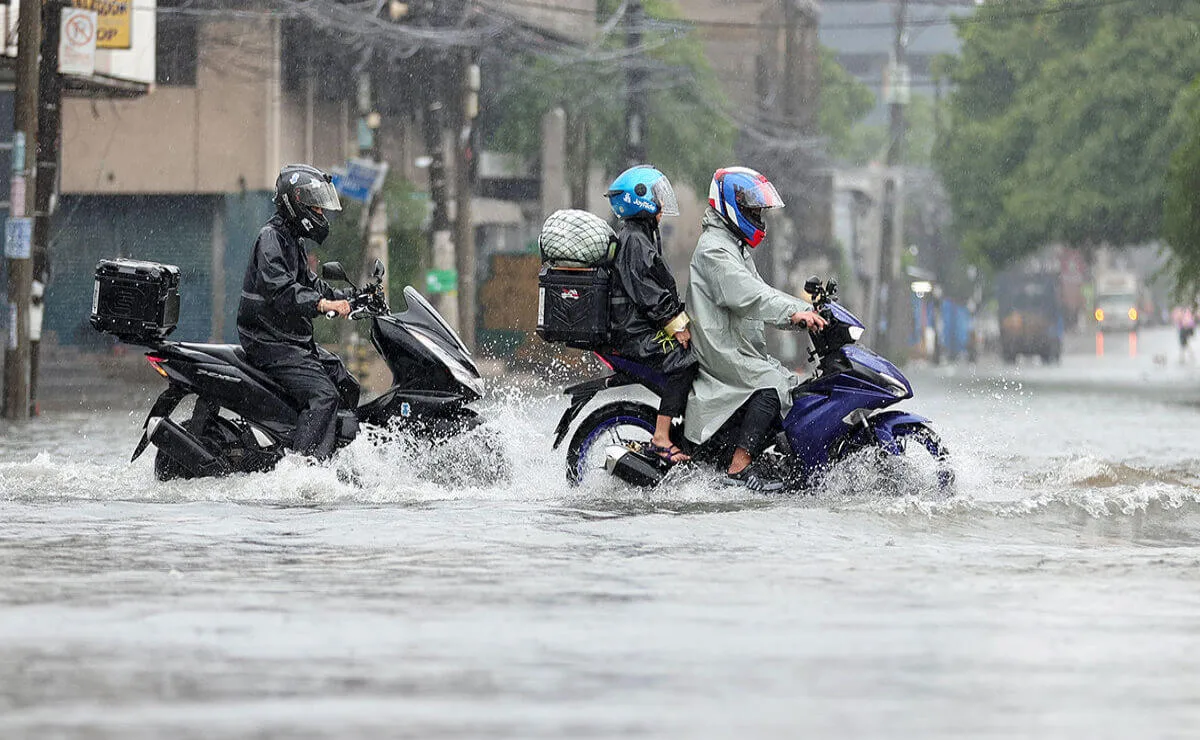
Flood exposure can damage more than what is visible. This Rescue Your Flooded Motorcycle: Typhoon Damage Recovery Guide explains what to inspect, what to dry, and what to replace after water submersion. Learn how moisture affects bearings, electrical connectors, lubrication systems, and braking components during real-world use. The guide focuses on practical recovery steps for daily riders, not unnecessary teardown. Whether your motorcycle stalled in deep water or sat partially submerged, structured inspection prevents long-term corrosion and expensive mechanical failure. Clear recovery decisions protect reliability, safety, and overall ownership cost in Philippine riding conditions.
A Flooded Motorcycle during typhoon season in the Philippines is not a rare situation. Based on reports, around 20 typhoons enter the country each year, with several causing serious flooding in low-lying areas. For riders, that means water exposure is a predictable seasonal risk, not an unexpected accident.
A Flooded Motorcycle is not instantly ruined. Damage develops gradually through moisture intrusion, contaminated lubrication, and electrical corrosion. What you do within the first 24 to 72 hours determines whether the bike recovers or deteriorates.
This Rescue Your Flooded Motorcycle: Typhoon Damage Recovery Guide provides a structured inspection and recovery process designed for real-world Philippine riding conditions. It focuses on practical steps that protect reliability, safety, and long-term ownership cost.
Whether you commute daily or ride occasionally, this guide helps you respond correctly after flood exposure without panic-driven repairs or unnecessary teardown.
The moment you spot your motorcycle sitting in floodwater, don’t panic. But don’t waste time either. Your first priority is safety. Before you even think about pushing the bike or turning the key, disconnect the battery. Water and electricity don’t mix, and a live battery can cause serious electrical damage, or even short-circuit key components like the ECU (engine control unit) or rectifier.
Always start by removing the negative terminal first, followed by the positive. If you skip this step and try starting the bike, you’re almost guaranteed to fry something important. Think of it like CPR: this is your first resuscitation move for your bike.
If the bike has already been partially or fully submerged, chances are the electrical system is already compromised. Disconnecting the battery doesn’t fix the problem, but it stops it from getting worse.
Resist every temptation to turn that key. You might think, “Let me just see if it starts,” but that’s one of the worst things you can do after a flood. Why? Because if water has made its way into the engine or air intake, trying to start it can lead to hydrolock. A condition where water fills the combustion chamber, preventing the piston from moving and potentially bending internal parts like the connecting rod.
Even if it does start, you risk damaging the engine internally or shorting sensitive electronics. Always assume water has gotten into places it shouldn’t have, and wait until a proper inspection is done.
Once you’ve secured the battery and committed not to starting the bike, it’s time to get it out of the water. Push it and on’t ride it to higher ground where you can begin drying and inspection. If the tires are submerged, your bearings, brake discs, and axles are also likely water-exposed. This step is about controlling your environment so you can work on the bike safely and more effectively.
Ideally, find a covered space with good ventilation, away from further rain or flood risk. A garage, carport, or even a shaded sidewalk will do. Just make sure it’s dry and accessible.
Once the bike is safe and out of the water, the drying process begins. The first thing to do is drain all visible and accessible water. Open the seat, remove side panels, and tilt the bike gently from side to side. If your exhaust pipe is filled with water, tilt the rear of the bike upward slightly and let gravity help you out.
Use rags, sponges, and even turkey basters or siphons to extract trapped water. If you can access the airbox or carburetor, check for signs of water inside. These are prime spots where water tends to collect and stagnate.
You don’t need fancy tools here. Just persistence and a keen eye. The more water you can remove at this stage, the less risk of long-term corrosion or mechanical failure.
Now comes the critical part, thoroughly drying the bike inside and out. Start with the visible surfaces: body panels, fuel tank, mirrors, and seat. Wipe everything down with dry, absorbent cloths. Focus especially on joints, seams, and crevices where water can hide.
Next, remove the spark plug(s) and try to crank the engine manually using the kickstart or rear wheel in gear. This can help expel water from the combustion chamber. Just don’t do it aggressively. If water sprays out of the plug hole, you’ve got your answer: there’s water in the engine.
Once you’ve done this, continue drying using fans, hair dryers, or heat guns. But keep the heat gentle. You’re trying to evaporate moisture, not melt wires. Let it sit under a fan or in the sun for several hours.
If you have access to an air compressor, now’s the time to use it. Blow out every connection, nook, and cranny you can reach. Especially the spark plug hole, electrical connectors, handlebar switches, and the ignition keyhole. Compressed air forces trapped moisture out, preventing rust and corrosion down the line.
If not, go with the good old electric fan method. Aim a fan at the bike and let it run for several hours. Patience is key. Rushing this stage means you could trap moisture inside, where it’ll slowly eat away at your bike’s components.
Now that the bike is mostly dry, it’s time to get hands-on. A thorough visual inspection helps you map the damage and decide what needs attention first. Start from the top and work your way down. That simple routine reduces missed issues and repeat labor.
If you want a broader baseline for what “normal inspection” looks like outside flood recovery, review our Motorcycle Maintenance Guide for service intervals, inspection habits, and preventive checks that support long-term reliability.
Here’s a basic checklist to follow:
Take notes or photos as you go. This helps if you plan to file an insurance claim later. Any sludge, discoloration, or foul smell usually signals water intrusion. The more detailed your inspection, the faster and cleaner the recovery path.
Some motorcycle parts are especially vulnerable after a flood and need more than just a quick once-over. These should be your top priority:
Water inside the engine is every rider’s nightmare. Pull the spark plugs and check for moisture in the combustion chamber. Turn the engine over manually to see if water shoots out. If it does, your bike might be suffering from hydrolock. And you’ll need to act fast before internal rusting sets in.
If the exhaust pipe was submerged, it likely has water trapped inside. Tilt the bike and gently shake it. You should hear water sloshing or dripping out. Use a towel or compressed air to dry it thoroughly. Leaving water here can lead to corrosion from the inside out.
Your bike’s electrical system is highly sensitive to moisture. Check the fuse box, battery terminals, wiring harnesses, and ECU for any signs of water or corrosion. Even a tiny bit of moisture can cause shorts or voltage drops. Spray contact cleaner on exposed terminals and reapply dielectric grease to connectors after drying.
Check the brake calipers, pads, and rotors. Surface rust on rotors is common but usually harmless if caught early. However, waterlogged brake fluid can compromise braking power. So, consider flushing it. The suspension seals might have let in water too, so check for unusual noises or stiffness during compression.
| Component | What to Check For | Action Required |
|---|---|---|
| Air filter | Wet or dirty filter | Replace immediately |
| Engine oil | Milky or foamy consistency | Drain and replace |
| Spark plugs | Rust or water droplets | Clean or replace |
| Electrical connectors | Corrosion, green/white deposits | Dry, clean, and grease |
| Brake fluid | Cloudiness or discoloration | Flush the system |
| Chain & sprockets | Rust or stiffness | Clean and lubricate |
| Fuel tank | Water droplets or rust flakes | Drain if necessary |
This table serves as a quick-reference guide, especially useful if you’re doing a multi-day inspection. Keep it handy in your garage or workshop.
Floodwater has a habit of seeping into engine oil through the breather hose or airbox. That is why draining the engine oil completely is non-negotiable. Even if it does not look severe. Water-contaminated oil often appears milky or light brown, similar to a coffee mixture.
Yes, this adds cost and labor. It is still far cheaper than rebuilding an engine.
After completing the flushing process, use our Post-Flood Riding Inspection Checklist for Real-World Motorcycle Use to verify braking feel, throttle response, electrical consistency, and drivetrain behavior during actual road use. Cleaning is only half the job. Real riding confirms recovery.
The air filter acts like your bike’s lungs, and after a flood, chances are it’s soaked and filthy. Open the airbox, pull out the filter, and inspect it. If it’s made of paper and it’s wet, replace it immediately. Foam filters can be cleaned and re-oiled, but not if they’re crumbling or saturated with dirt.
Also, check the bottom of the airbox. If it’s holding water, you’ll need to remove it, dry it out, and clean any sediment or debris. A clean and dry intake system is crucial before you even think about starting the bike.
Water in the fuel tank can be disastrous. Even a small amount of moisture can ruin your fuel injectors or carburetors. Here’s how to inspect and clean it:
If your bike uses a carburetor, open the drain screw on the float bowl to remove old fuel. For fuel-injected bikes, inspect the fuel pump and filters, these may need to be cleaned or replaced.
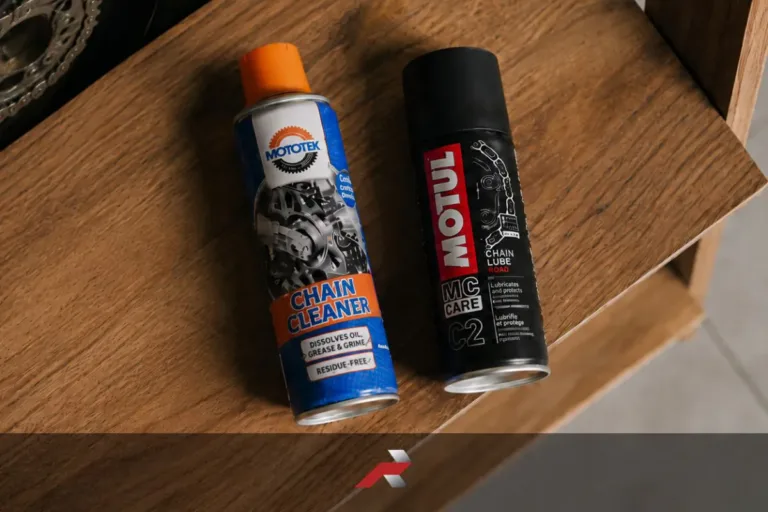
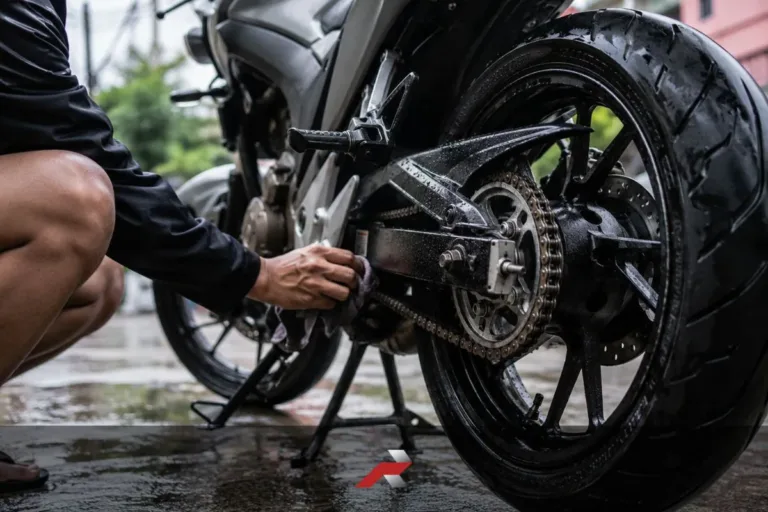
Your chain is likely one of the first components to suffer post-flood. Water strips away lubricant and introduces rust. Clean the chain thoroughly with a degreaser, then dry it completely.
Once clean, apply a quality motorcycle chain lube. Pay special attention to the O-rings or X-rings. Also, lubricate the side stand, center stand, clutch lever, and brake lever pivots. Any joint that may have been underwater.
Proper lubrication post-flood can extend your bike’s life by years and prevent squeaky rides and seizing parts.
Even if you’re handy with tools, some symptoms are better left to professionals:
These aren’t just inconveniences, they’re safety risks. Continuing to ride with these issues could make the damage worse or put you in danger.
Not all mechanics are created equal, especially when it comes to flood-damaged bikes. Look for shops that:
Ask for reviews or referrals if you’re unsure. A good mechanic can save your bike from being a total loss.
Here’s a ballpark estimate for common flood-related motorcycle repairs in the Philippines:
| Repair Item | Estimated Cost (PHP) |
|---|---|
| Oil change + filter | 800 – 1,200 |
| Air filter replacement | 300 – 800 |
| Carb/Fuel system cleaning | 1,000 – 2,500 |
| Electrical diagnostics | 1,500 – 3,000 |
| Brake fluid flush | 500 – 1,000 |
These costs can vary depending on your bike model, the shop, and how extensive the damage is. But in most cases, early intervention means you’ll spend far less than if you wait.
Whether or not your motorcycle insurance covers flood damage depends on your policy type and provider. In general:
Before filing a claim, review your policy documents carefully or call your provider’s customer service hotline. Some insurers may classify typhoon damage under “Acts of God,” which might require additional riders or coverage options.
Don’t just assume you’re covered, verify.
If you’ve confirmed that your policy includes flood or typhoon coverage, follow these steps to file a successful claim:
Being organized and prompt helps speed up the approval process. Keep all receipts and records in case the insurer needs proof of repairs or purchases.
Insurance claims can get bogged down without proper documentation. Make sure to prepare the following:
The more complete your paperwork, the smoother your claim will go.
A high-quality, waterproof motorcycle cover isn’t just a luxury. It’s a necessity if you live in a flood-prone area. Choose one that’s:
In addition to a cover, consider keeping a large plastic tarp or emergency tent on standby. In extreme weather, wrapping your bike in a tarp and sealing the bottom can prevent water intrusion into the exhaust and intake.
Remember: covers work best when they’re clean and undamaged. Inspect yours regularly.
Parking location is a critical factor in flood prevention. Here are smart practices:
If you’re stuck outdoors, look for natural barriers like walls or fences that can redirect flowing water. It may not offer full protection, but every bit helps.
There are now aftermarket parts designed to help protect your bike from floodwater:
These won’t make your bike amphibious, but they’ll improve its odds of surviving the next downpour.
We mentioned this earlier, but it bears repeating: never try to start a flooded motorcycle without inspection. Doing so risks:
Even if the bike miraculously starts, unseen internal damage could worsen over time. Always inspect and dry thoroughly first.
It’s easy to overlook things like the starter motor, horn, or turn signals. But these smaller parts are still vulnerable. Don’t assume something is fine just because it “looks dry.”
Electrical gremlins can appear days or weeks after the flood. Take time to open, inspect, and re-seal vulnerable areas.
Thorough cleaning is not about making your bike pretty. It’s about removing sediment, silt, and debris that can destroy your engine or corrode key parts. Take your time. Use the right products. Double-clean areas like the:
Use a soft brush and mild degreaser. Not a high-pressure washer, which can push water further into sensitive areas.
Yes, most flooded motorcycles can be repaired, especially if the engine wasn’t started while submerged. The sooner you begin the cleaning and drying process, the better your chances of a full recovery.
Costs vary based on the damage and model, but expect anywhere from ₱1,500 to ₱5,000 for minor issues. Major repairs, like engine work or electronics replacement, can run ₱10,000 or more.
Only if you have comprehensive insurance. Double-check if your policy includes “Acts of God” or flood coverage specifically. Basic third-party liability doesn’t cover flood damage.
If water enters the engine and you try to start it, you risk hydrolocking. If this happens, stop immediately and have the engine inspected. Depending on the severity, it might require a full tear-down.
Park in elevated locations, use waterproof covers, install intake extenders, and check the weather forecast regularly. Preparing ahead of typhoon season is your best defense.
A Flooded Motorcycle after typhoon season is not automatically a total loss. What determines survival is speed of response, structured inspection, and disciplined recovery steps.
Floodwater causes gradual damage through moisture intrusion, contaminated lubrication, and electrical corrosion. Disconnecting the battery, draining fluids properly, drying connectors, and verifying system behavior on the road reduce long-term reliability risks.
Mechanical symptoms may still appear weeks later. Inconsistent idle, sudden engine shutdown, or hesitation under load often trace back to moisture intrusion or sensor contamination. If you ride a Dominar platform, review our Engine Kill on Dominar 400: Causes, Fixes, and How to Prevent It to understand how post-flood electrical and fuel issues can surface during daily use.
Flood recovery is not about replacing everything. It is about prioritizing safety systems, confirming reliability, and preventing corrosion from spreading silently.
You cannot stop a typhoon. You can control how your motorcycle responds afterward.
Structured inspection protects braking performance.
Proper drying protects electrical stability.
Timely oil changes protect engine internals.
Flood exposure is environmental reality in the Philippines. Preventive action is ownership discipline.
Stay prepared. Stay methodical. Ride safe.